|
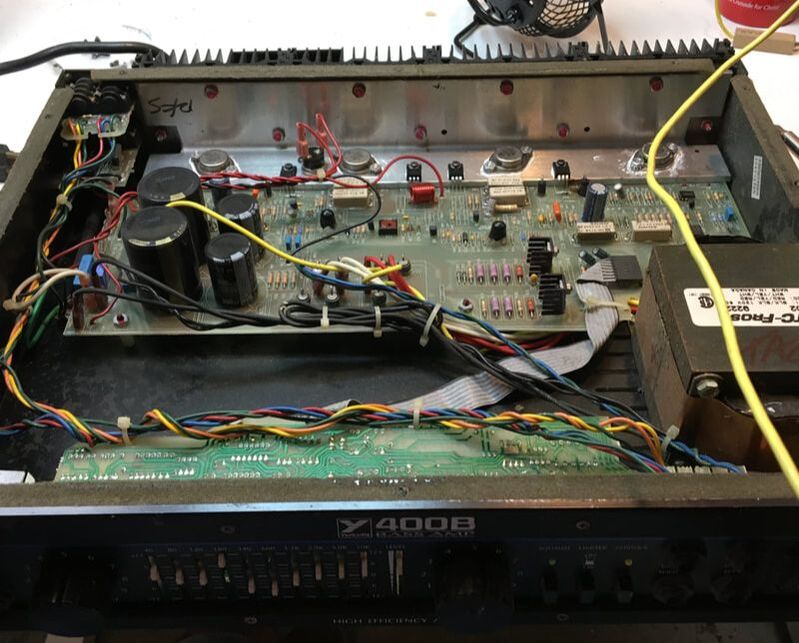
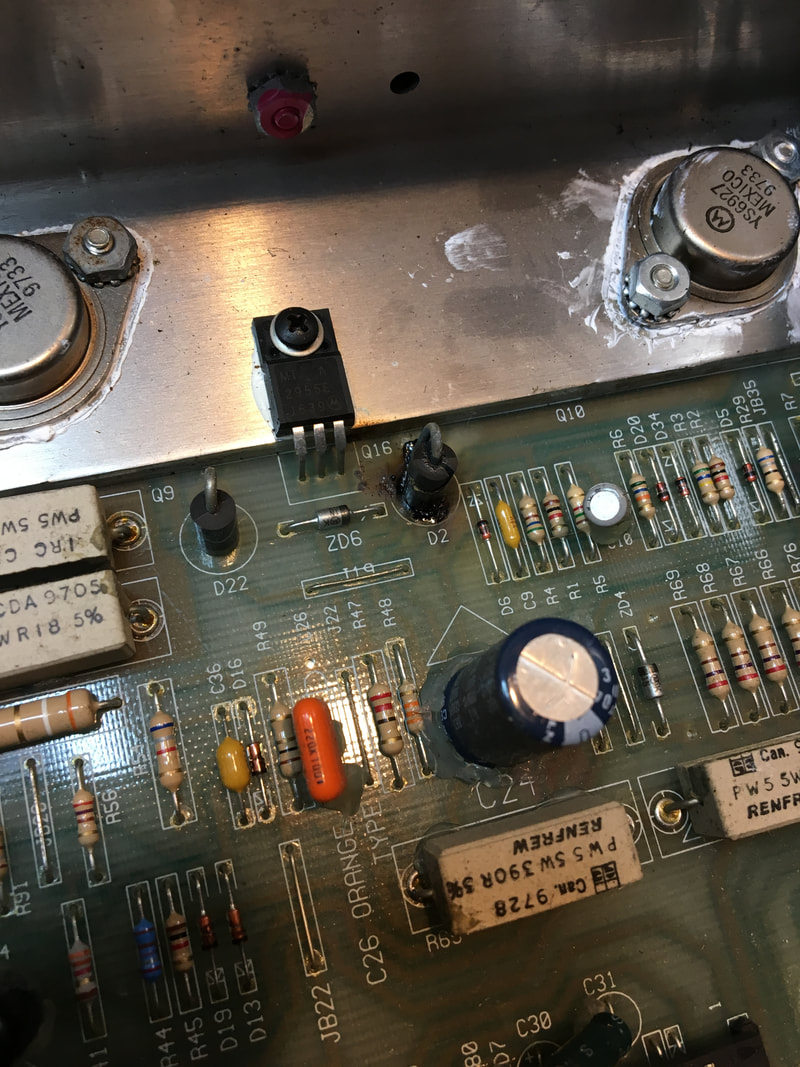
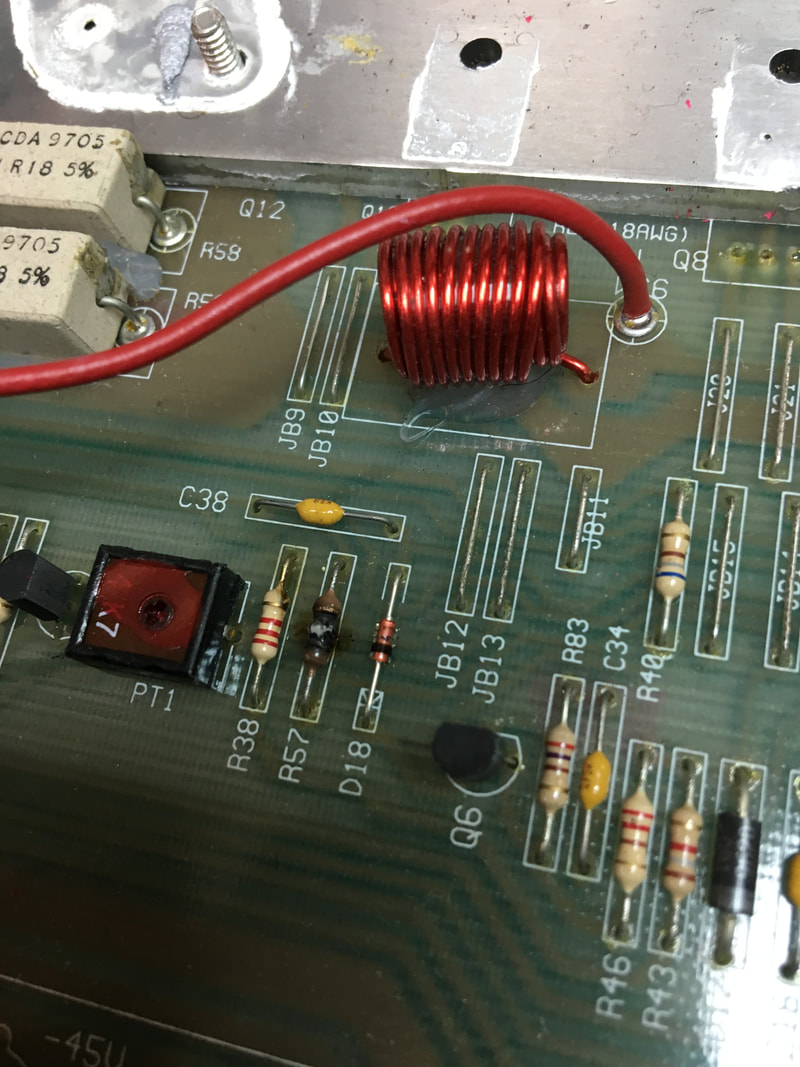
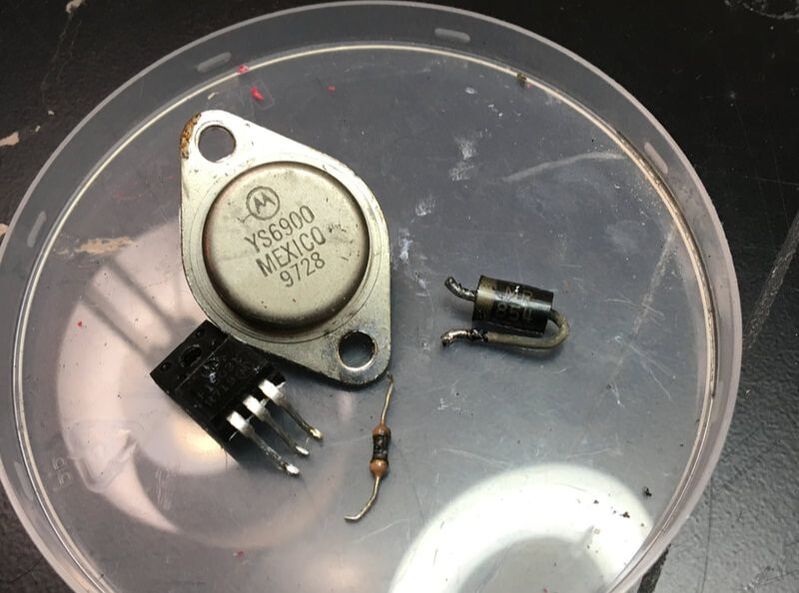
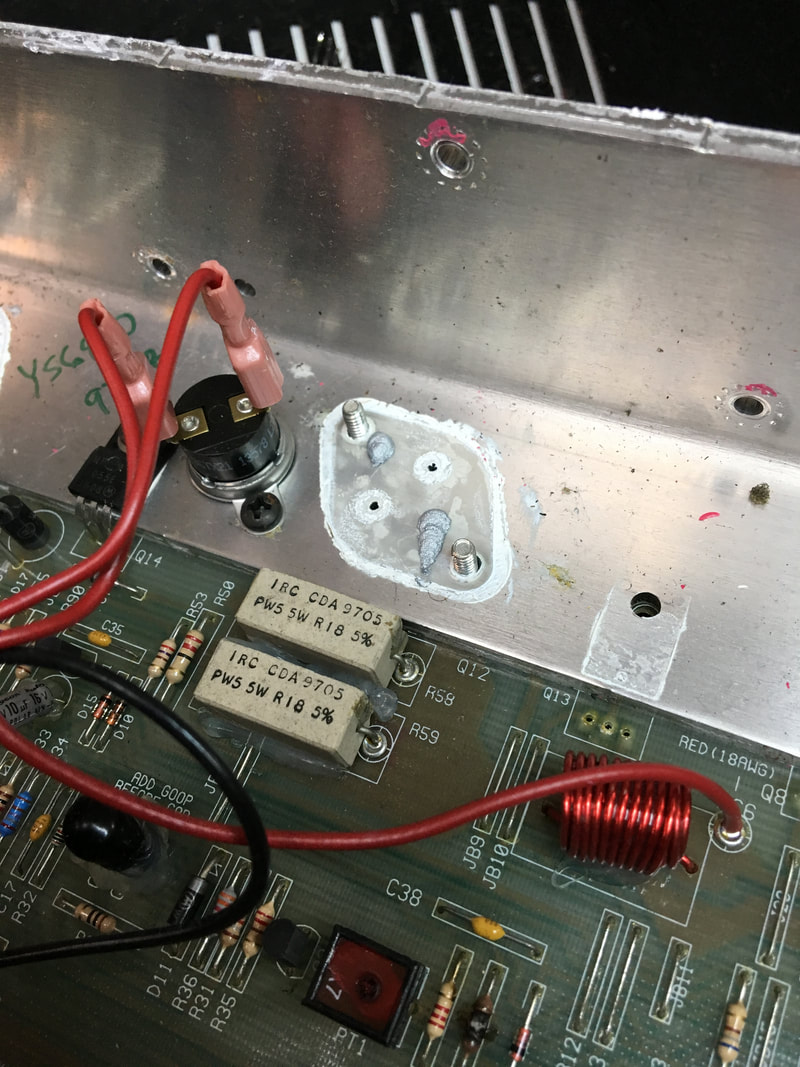
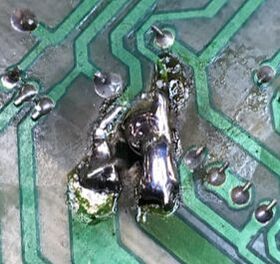
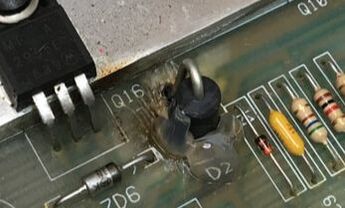
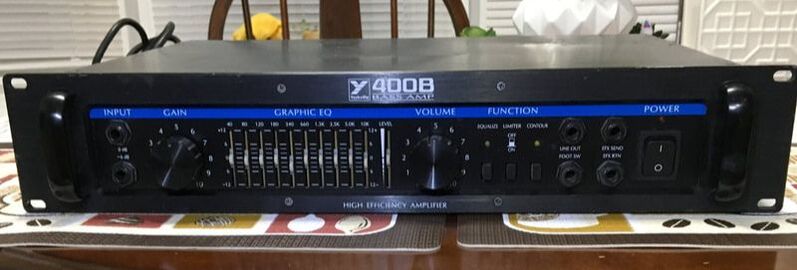
WARNING: ELECTRICITY CAN AND WILL KILL YOU. CAPACITORS HOLD THEIR CHARGE LONG AFTER AN AMPLIFIER HAS BEEN TURNED OFF. THIS IS NOT A TUTORIAL. WORK OF THIS NATURE SHOULD ONLY BE ATTEMPTED BY A QUALIFIED TECHNICIAN. We have a pretty straight forward solid state amp repair on the bench today. I've been cleaning up the shop and getting it organized the past few weeks. Someone gave me this amplifier awhile back after they gave up on trying to repair it. Let's dig in. Here is a view of the amp with the lid off. I didn't test the amp before I opened it up. I wanted to look for any obvious issues (burnt components, et cetera) before I tested the amp through my Light Bulb Limiter. You can see that there are basically two boards: 1) the preamp closest to us & 2) the large board farthest from us that includes the power supply and output section. DING, DING, DING! WE HAVE A WINNER. Look at D2. That big ol' diode in the output section took a HIT. You can see it's also burned the board underneath. We also can't help but suspect that the transistors on the heat sink and some of the components tied to them have also bought the farm. Once I pulled out the burnt diode (noting polarity) I started checking all the usual suspects (mostly diodes and transistors) with my multimeter. Look what we have here. R57 is also burnt, but the components around it read fine. There is an available schematic for this amplifier making figuring out the value of that resistor super easy. Here's the final kill count on parts. It turns out that one of the output transistors was shorted as well as that smaller guy. When replacing transistors that are attached to a heat sink it's always a good idea to add a little bit of thermal compound. It's also important to note whether or not the transistors are insulated. All of these output devices on the Yorkville 400B have thin, clear insulators to keep them above ground. With the big Motorola transistors, you should always tighten the screws or nuts holding the transistors to the heat sink and then resolder the connections. Those guys are susceptible to vibrations. That diode basically burned a hole in the circuit board. You have to scrape that carbon of the board because carbon is conductive in certain circumstances. In my scraping, I had to pull out about a pea sized bit of board. Some traces had also lifted and burned. Here's the solution: lead stock, solder, and silicone. You scrape the coating off the copper traces and tin them. Then tack the component in and add lead stock as needed for strength and continuity. You have to make sure that you don't get any solder or lead stock over top of another trace - coated or not. It's just poor technique to do otherwise.
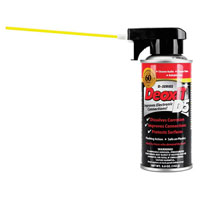
I pulled the preamp board and sprayed the pots out with the DeoxIT. That gave me a chance to give the faceplate of the amp a good cleaning with some generic glass cleaner. I then put the thing all the way back together and tested it at full power. It works great! There ya go. All done. Thanks for following along with this repair journey. - Andy
5 Comments
|
Andy brantonI'm a country blues artist, multi-instrumentalist, and pro audio repair technician. I am always curious - but never nosy. Archives
November 2020
Categories
All
|

 RSS Feed