|
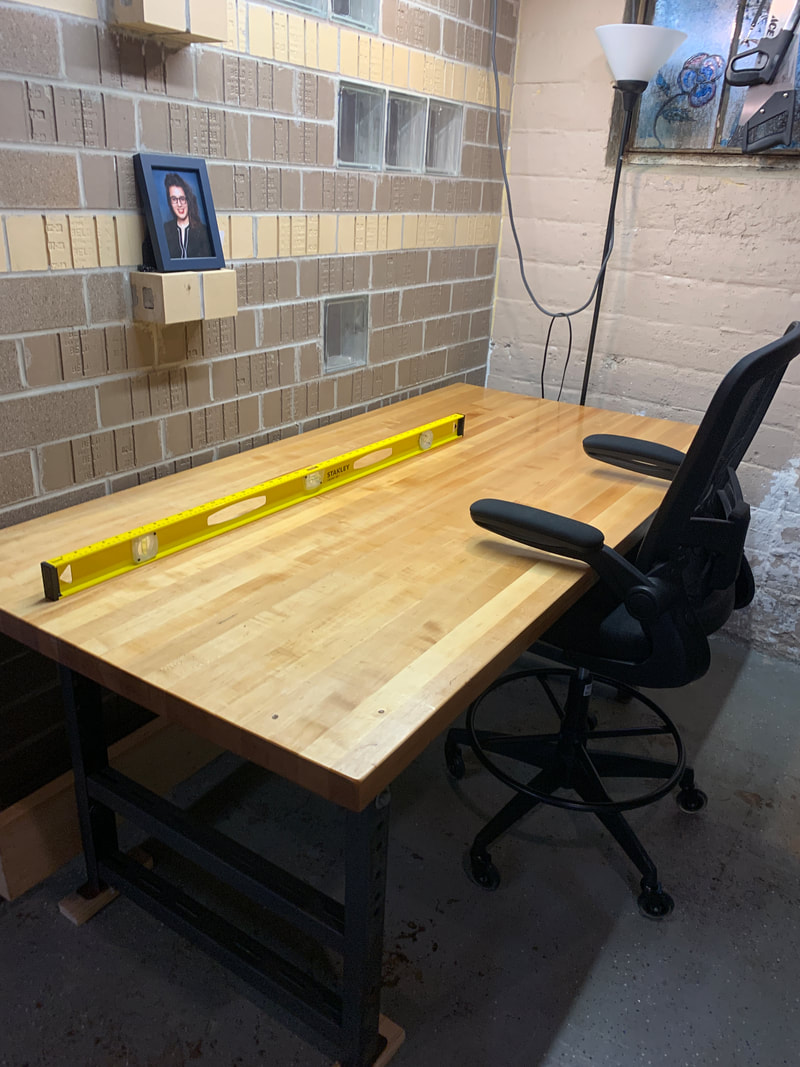
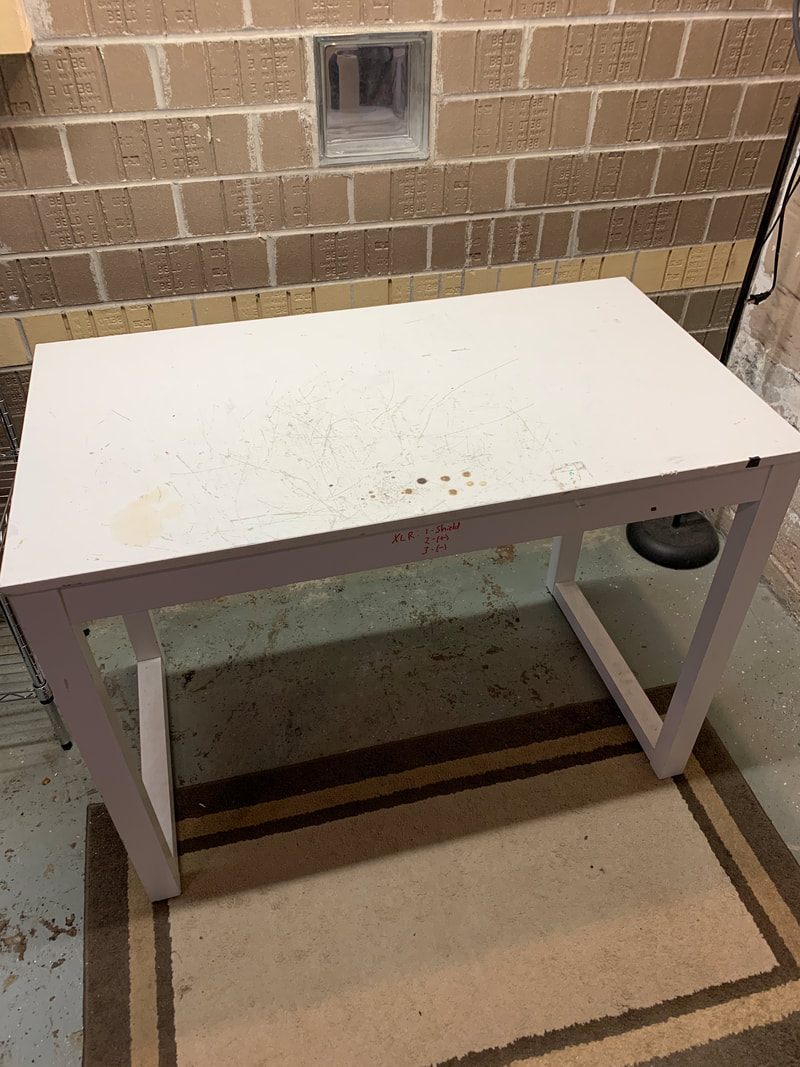
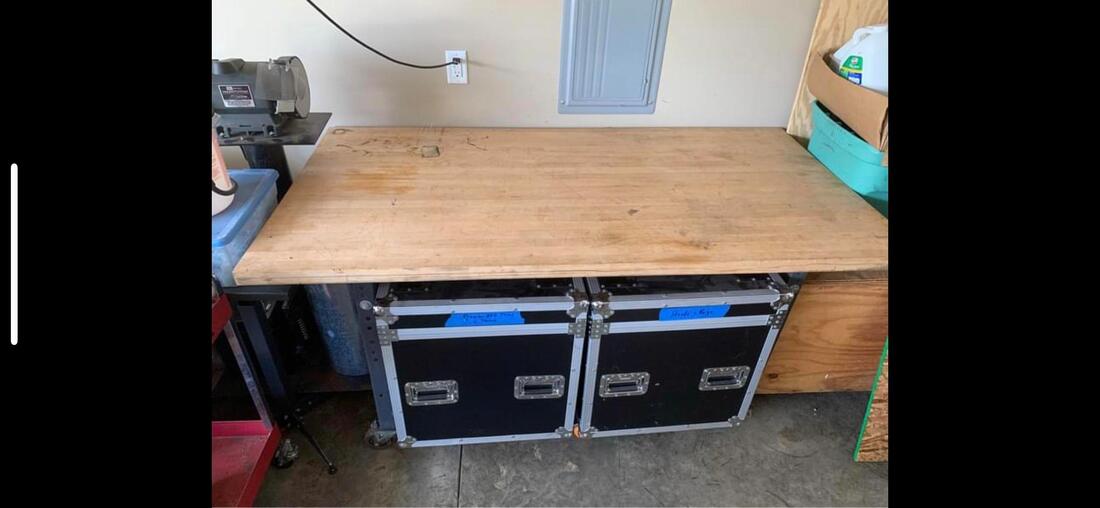
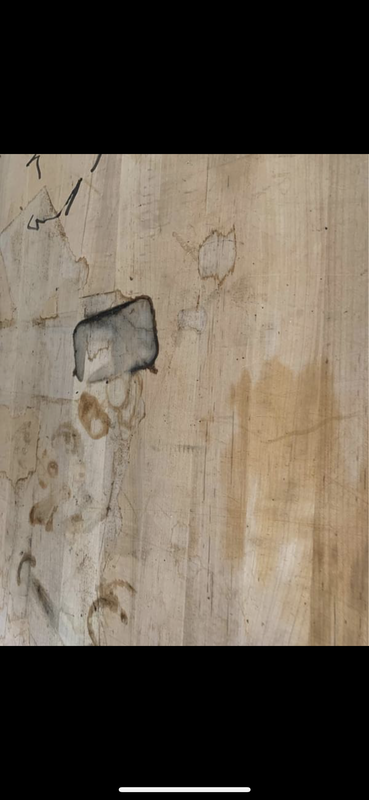
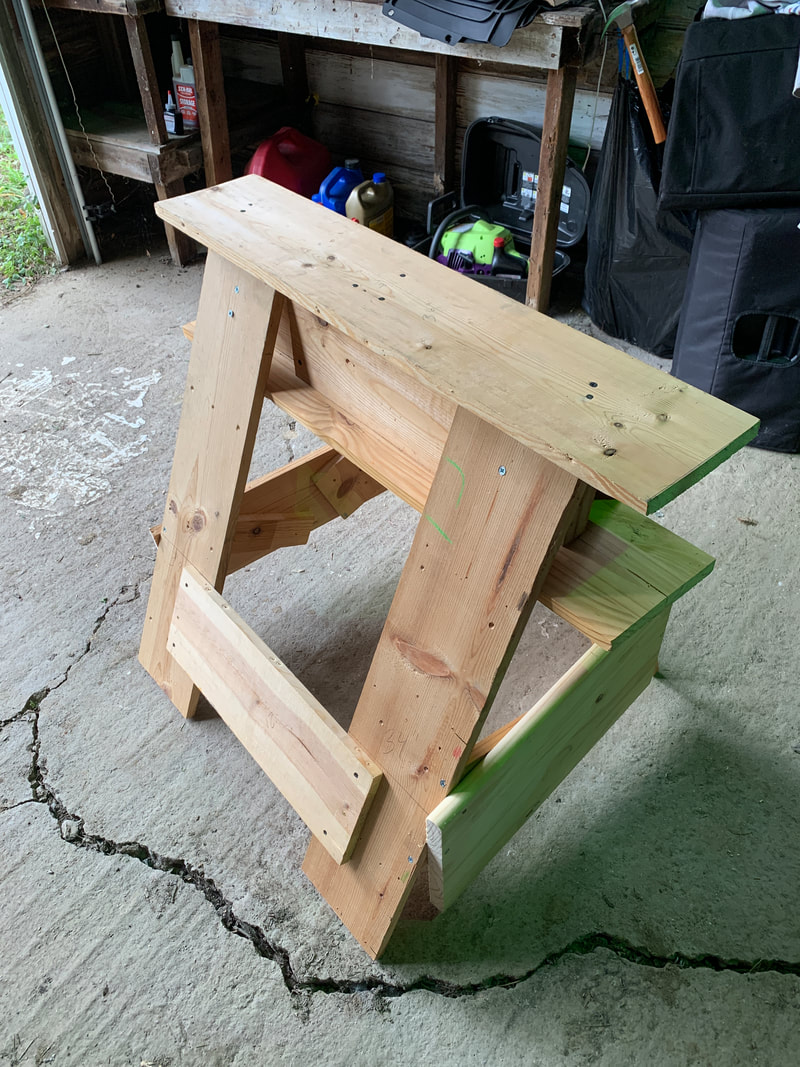
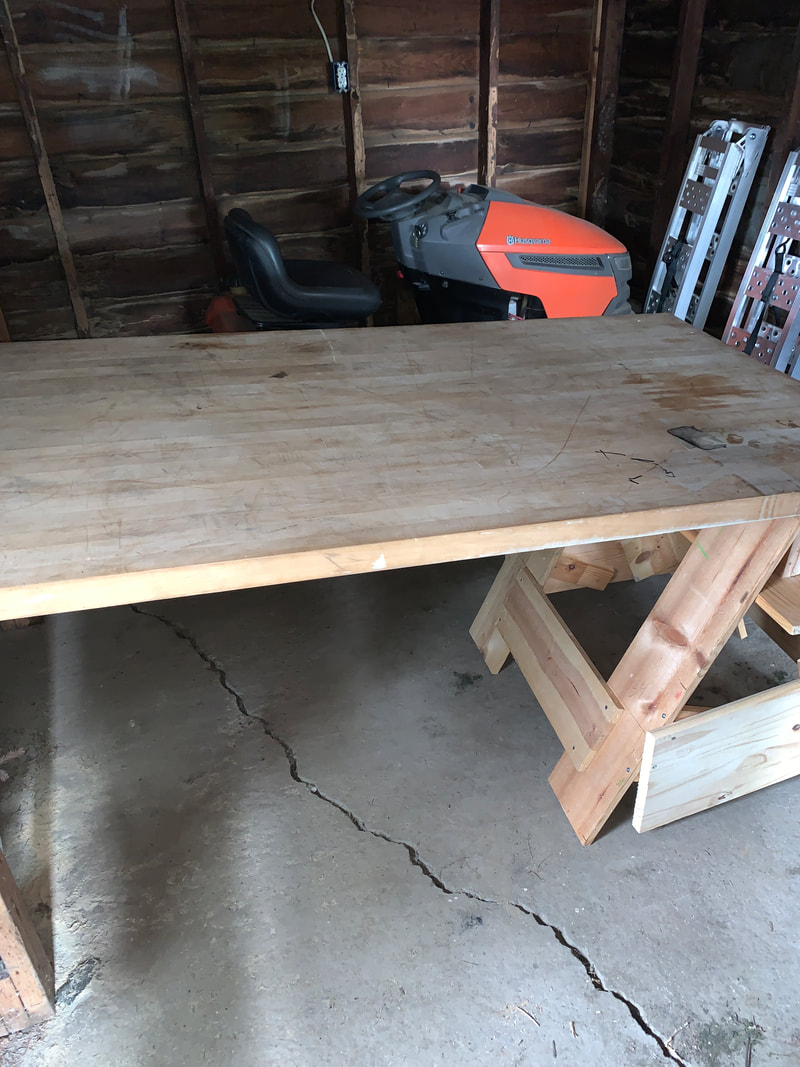
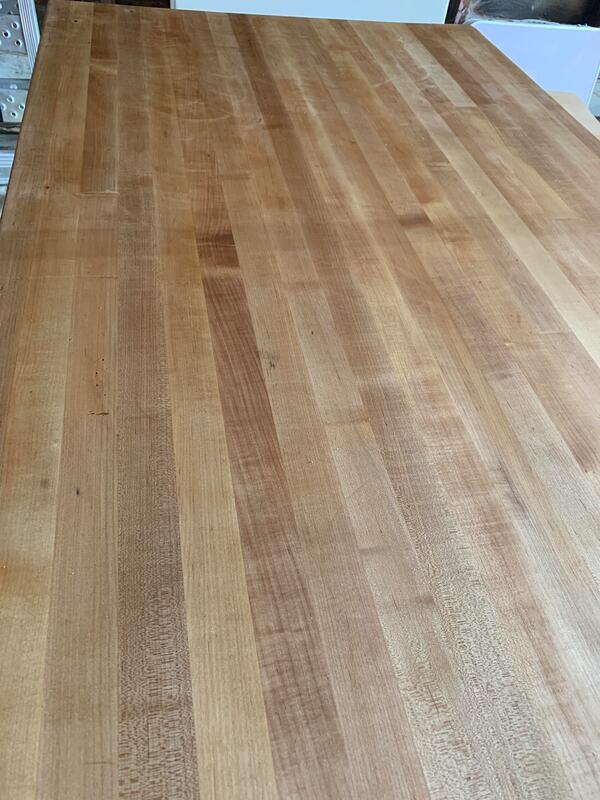
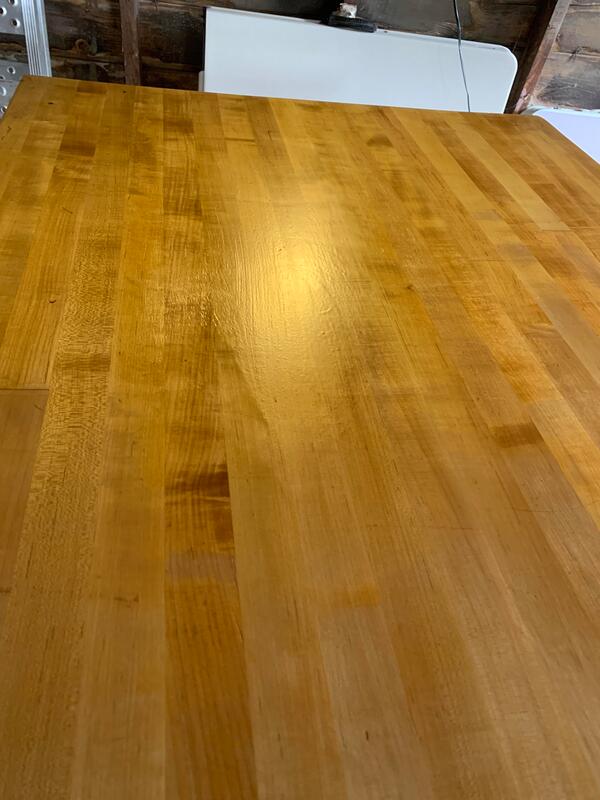
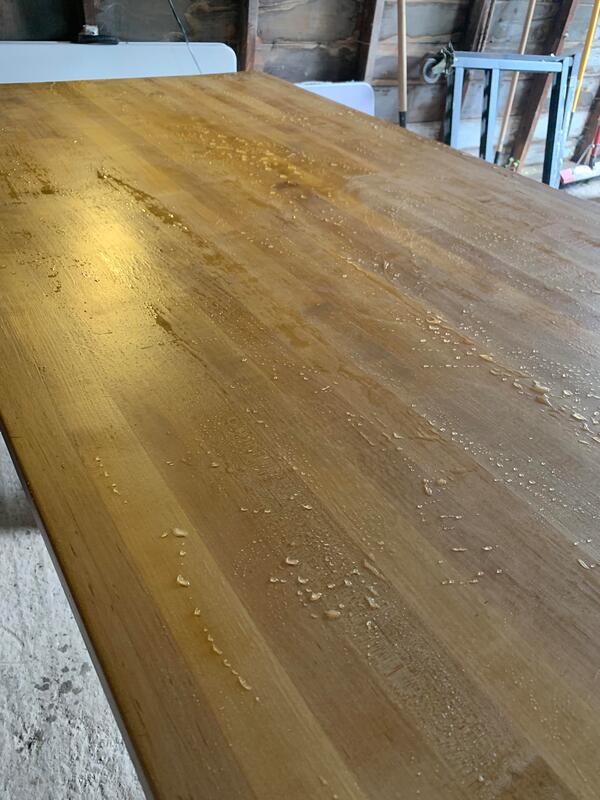
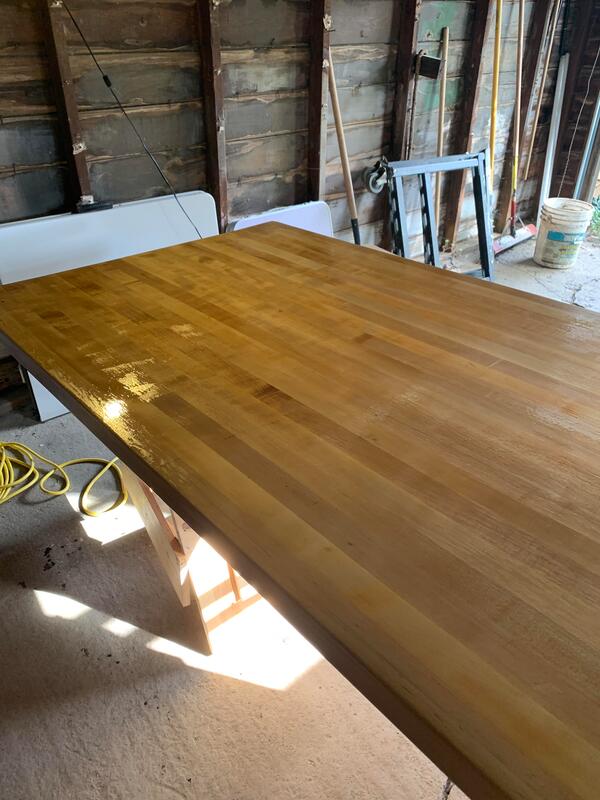
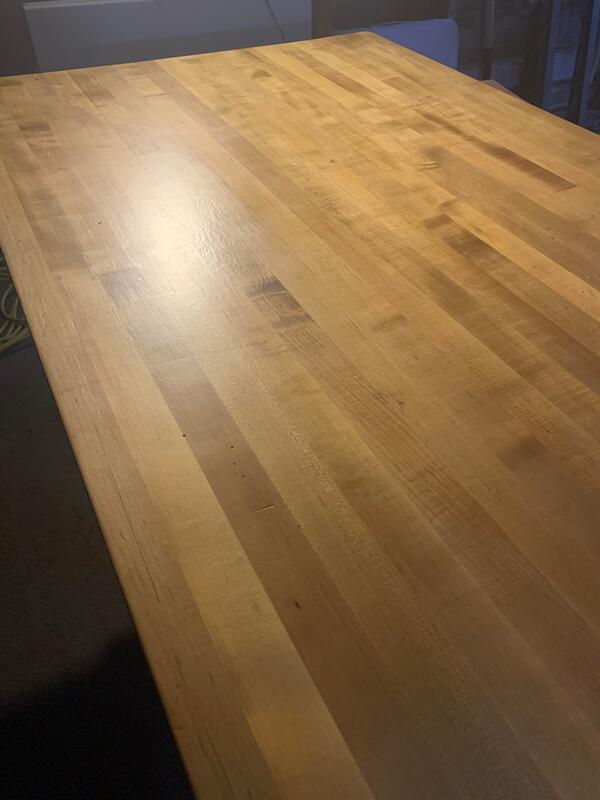
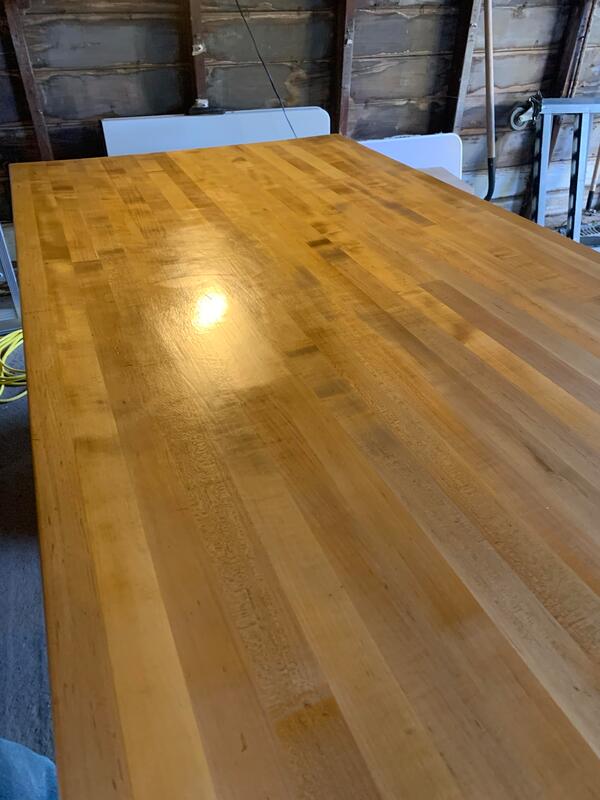
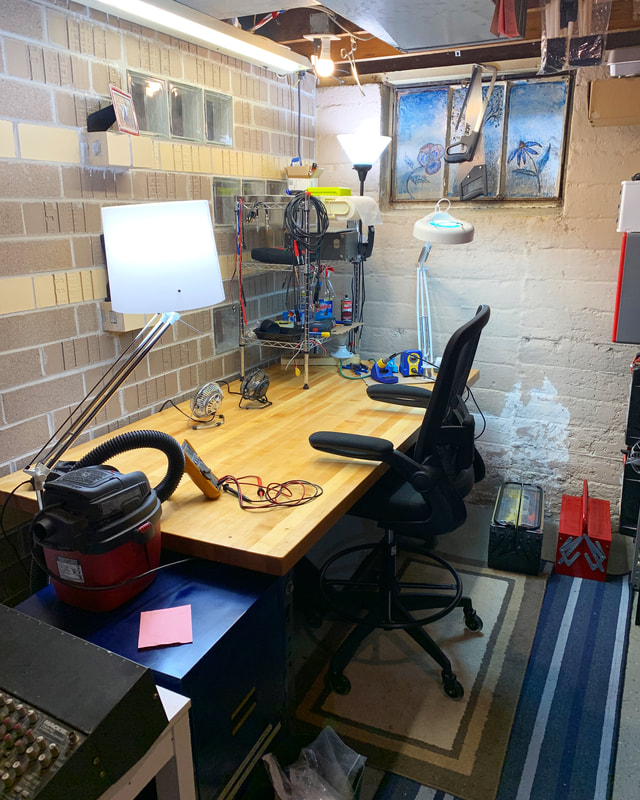
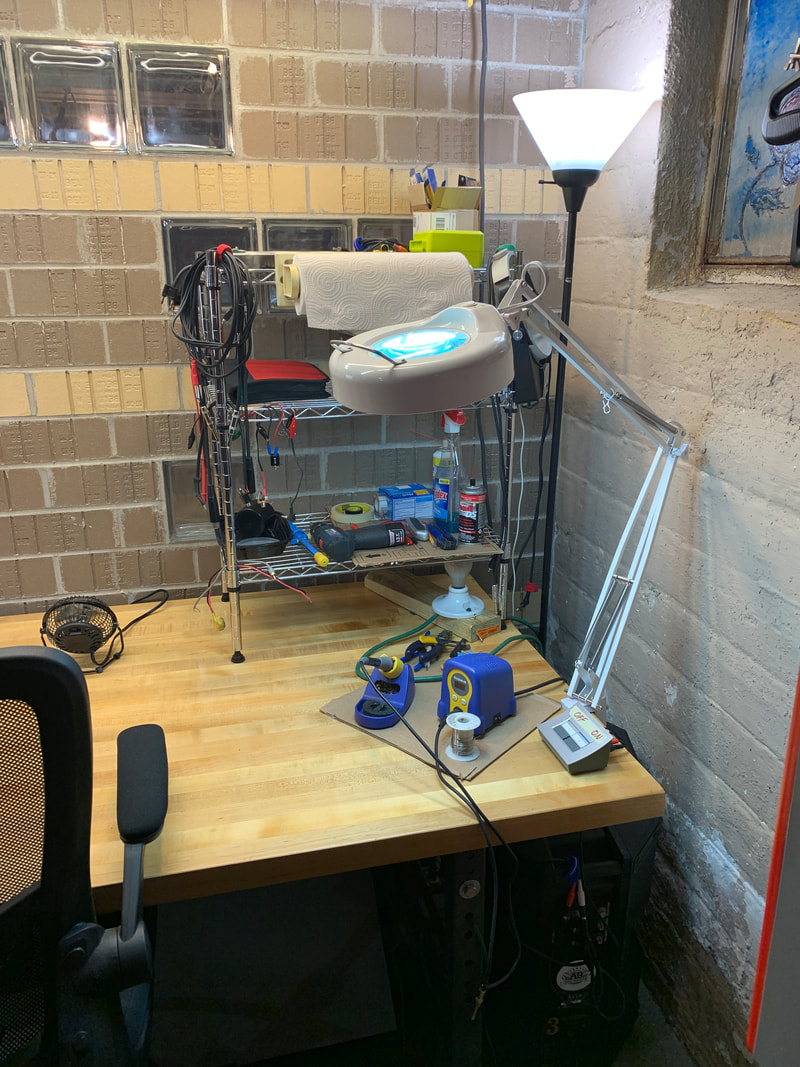
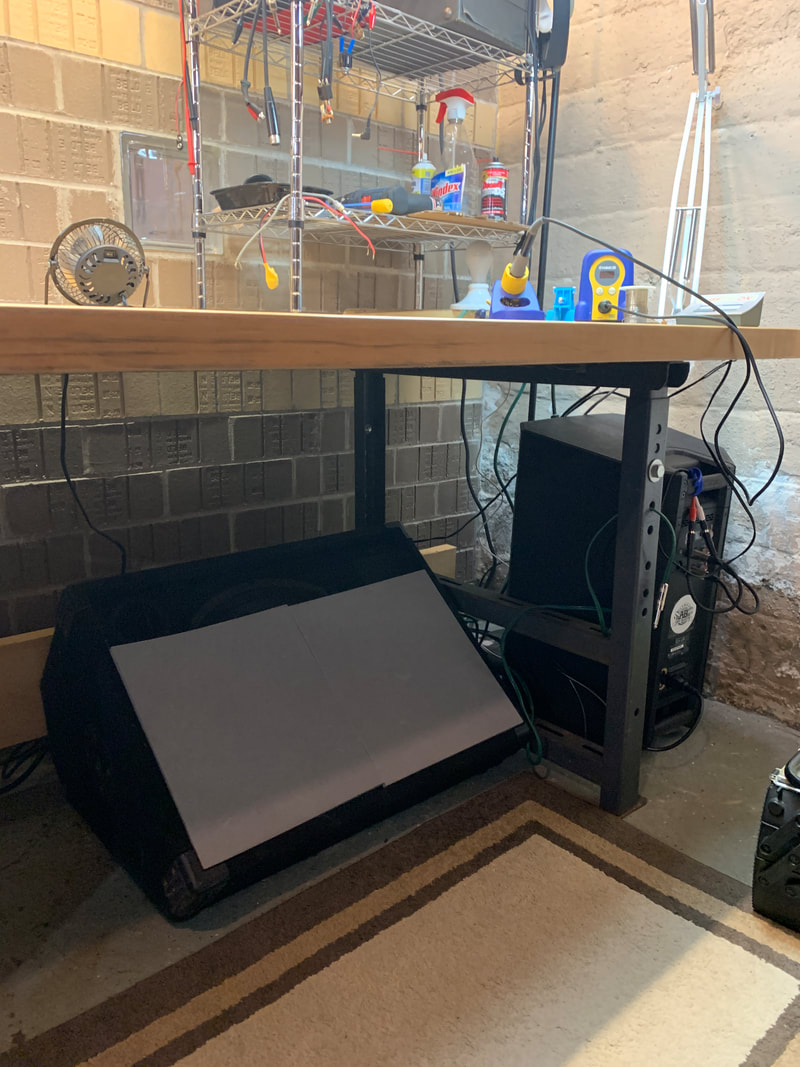
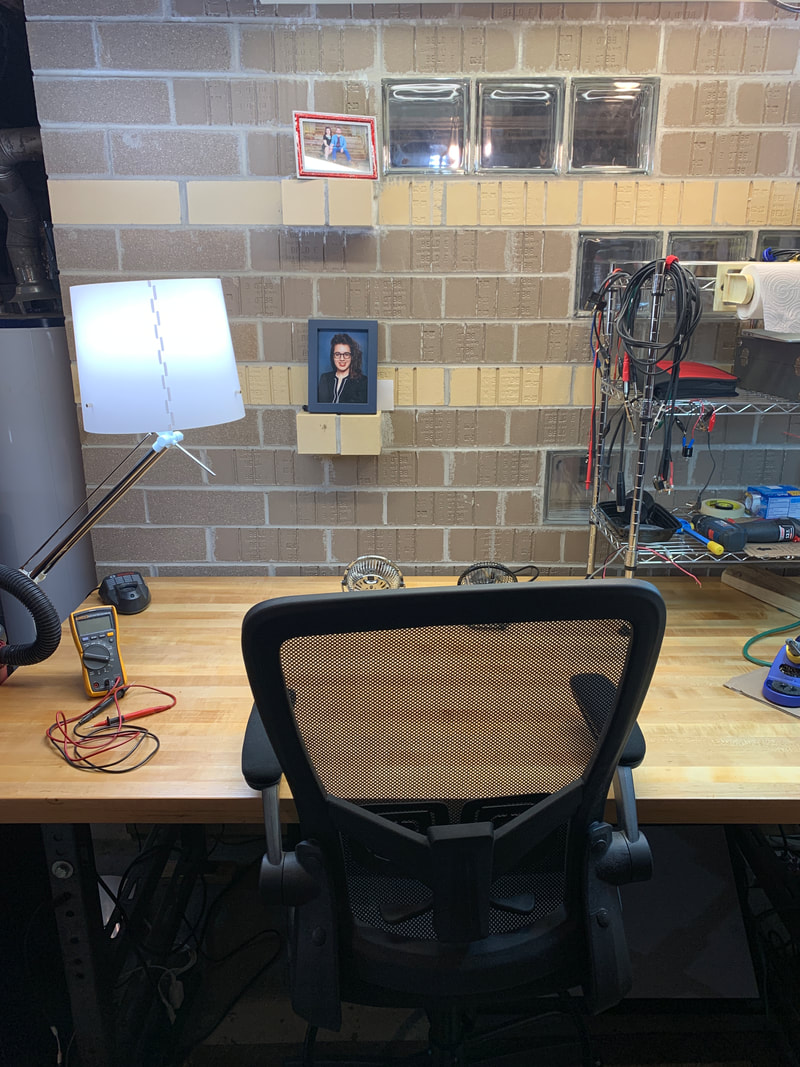
I'm a terrible woodworker and always have been, but I bought a butcher block workbench and refinished it for Commonwealth Pro Audio. I'm proud of the work even though it's pretty damn amateur. It's an excellent, functional bench. I can tell that my efficiency has gone way up, my back hurts less, and I drop a tenth of the amount of stuff I used to on the floor. Enjoy this process album! This is the finished bench! Thanks to Wingo who was kind enough to help me get the bench from my garage to the workshop, and he helped me assemble and level it. I put three coats of oil based polyurethane on the bench. This is my old "workbench." It's a cheap writing desk that I bought from Target years ago. It's now a staging area off to the side for the next pieces to be worked on and for units that have parts on order. This was the main photo in the Facebook Marketplace ad the guy who sold it to me put up. The original owner of the bench majorly abused it when working on his truck engine. This had to be sanded down to get the stain almost out. It's still just barely visible if you know where to look. I had to make a sawhorse out of scrap wood for this project. I'm a terrible woodworker - always have been. The green tint is from the garage overhead light. Preparing to palm sand the bench for the first time. I think this photo was taken after the first sanding. I went over the top with three different grits of sandpaper. Look at that! This was after the first coat of poly dried. The bench had to be wet sanded between coats of polyurethane. I think this is a shot of the second coat of poly after I had just applied it. Not sure where this was in the process - sometime after the second coat had dried. Perhaps this is after the third coat dried before polishing. This was after polishing the third and final coat with Novus polish and waxing with a paste wax. My tool boxes are still on the floor, but I'm working on a solution for that. At the moment, there is so much room on the bench that I can leave out every single tool I've used during a repair. You can see the old bench in the bottom left corner of this photo. It has a Mackie mixer on it. I had this wire rack on the floor originally. It wasn't ideal. I'm trying it out on the bench top. I've got the chemicals I need most often, drill, solder pump, cables, etc. on it. I found an old paper towel holder under the sink in the house and attached it. The whole rack is on felt pads and can be moved if need be. I was able to move my light bulb limiter on top of the bench. My iron is on cardboard to protect the bench top - a trick I learned when I worked in manufacturing at Pipehorn. Solder drips and what not collect on it and when it gets too bad you just change it out. It also means I can slide the whole setup closer or farther from me. The switch labeled off and on on the corner of the bench is for audio going to the powered speaker on the floor. It allows me to hot swap when checking outputs on mixers and such without having to do anything beyond pushing a button. The default input to the switch is a long cable that connects to my phone so I can listen to music and podcasts while I work. The powered speaker on the floor is an EV ZLX12P. I'm running the two channels (R & L from the switch) at 12 o clock and the master volume at -6db (master has a range of -10 to +10db). I had some 8 ohm passive wedges for sale. I decided to use one as a test speaker until they sold. It was looking like no one was interested in them. They sold the day after I took this photo. I put foam over the wedge to knock some of the volume down so I could run amps at higher volumes. The green cable that's fed through the bench leg is a speaker cable that feeds the wedge. This bench is the right height for my new chair. The two fans are for moving solder fumes away from my face. My meter stays to my left. My battery charger for my Bosch drill has a temporary home in the back, left corner. My shop vac is temporarily on top of my filing cabinet (with schematics and service manuals in it). I'm going to order a longer hose and likely move it under the bench.
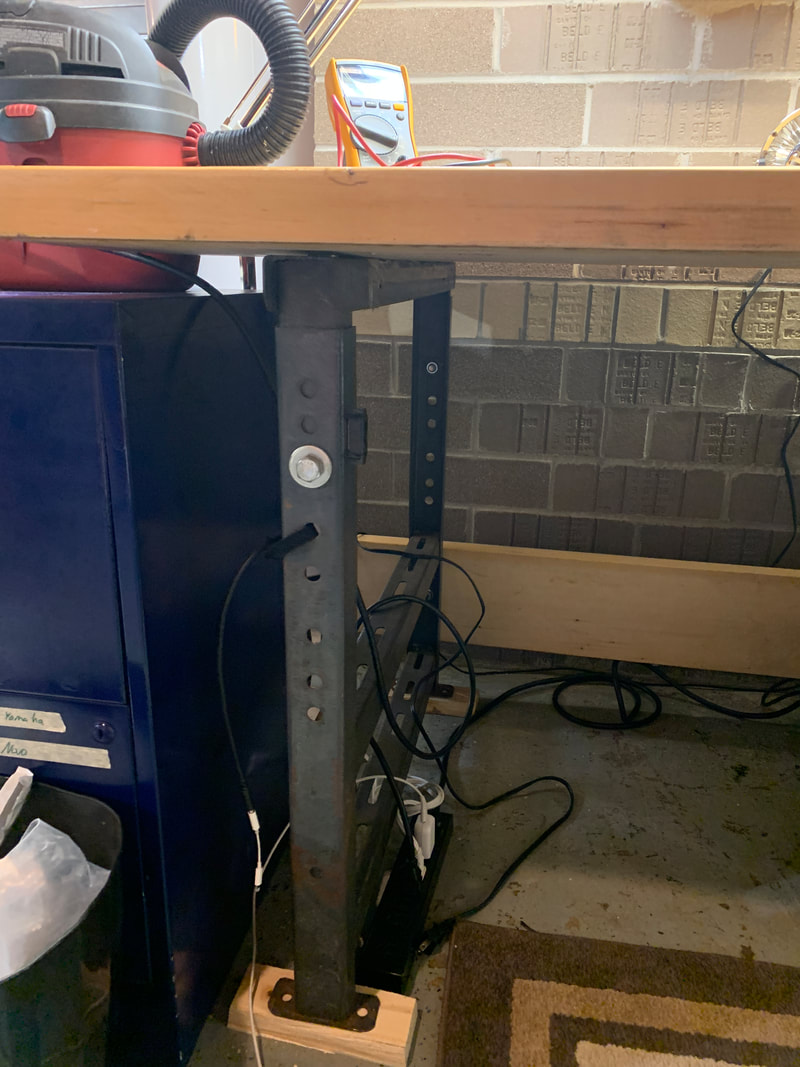
The cable hanging from the bench leg runs around behind the bench and to the input on the audio switch. The bench has power strips on both sides that are all ran from the same circuit. The wood blocks make the bench perfectly level. My workshop is in the basement of my home. As such, the floor slopes gently toward a drain.
0 Comments
Here's a '73 Twin Reverb we bought to restore to glory. It had a ton of issues that we addressed: - cut off power cord - mismatched and missing tubes (power and preamp) - shredded pots - blown speakers - out of tolerance grid resistors. Watch on YouTube for time stamps. Enjoy! |
Andy brantonI'm a country blues artist, multi-instrumentalist, and pro audio repair technician. I am always curious - but never nosy. Archives
November 2020
Categories
All
|
 RSS Feed